6 minutes
First Time Developing Black and White Film
Film development in Japan is getting worse and more expensive
I’ve been developing film with mostly Kitamura, one of the biggest photo printing chain in Japan. Many stores in Tokyo have in-store developer and scanner and they would develop, scan and give you a QR code from which you can download the results. I used to like the quality and how easy it is to use. However, I’ve noticed that recently, they increased the price for a higher quality scan, and they made the cheaper scanning option’s quality so low. Also, the scans had too much contrast most of the times. On top of that, they usually can do C41 in 2~4 hours but when you ask for B&W, they tell you that they have to send it to a factory and develop it there, hence the time it takes bumps up to 2+ weeks.
Given those circumstances, I decided to dip my toe into the rabbit hole of developing at home. It’s something I’ve wanted to do for a while anyways, and it brings down the cost of developing.
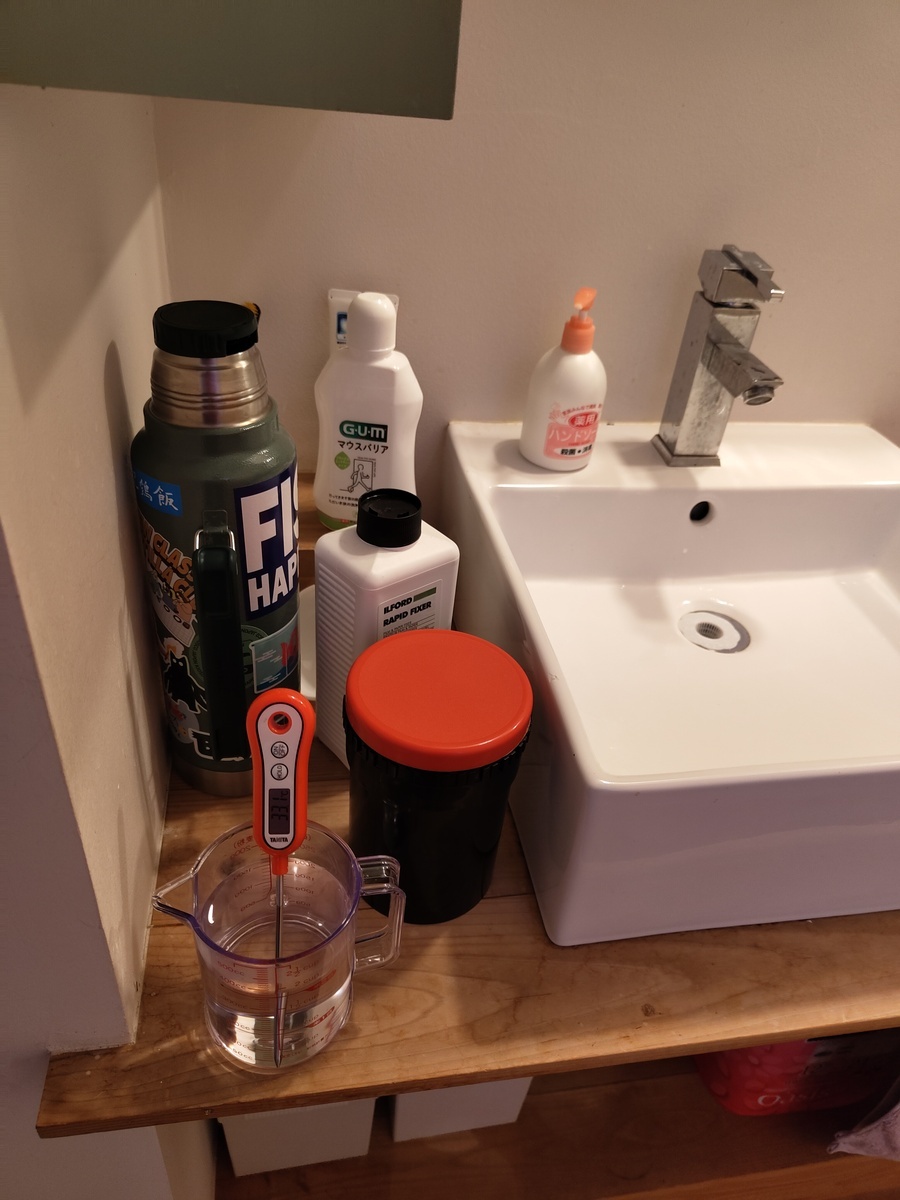
What I bought
| Developer | Kodak D-76 1 Gallon (3.8 liters) |
| Fixer | Ilford Rapid Fixer |
| Wetting Agent | Ilfotol |
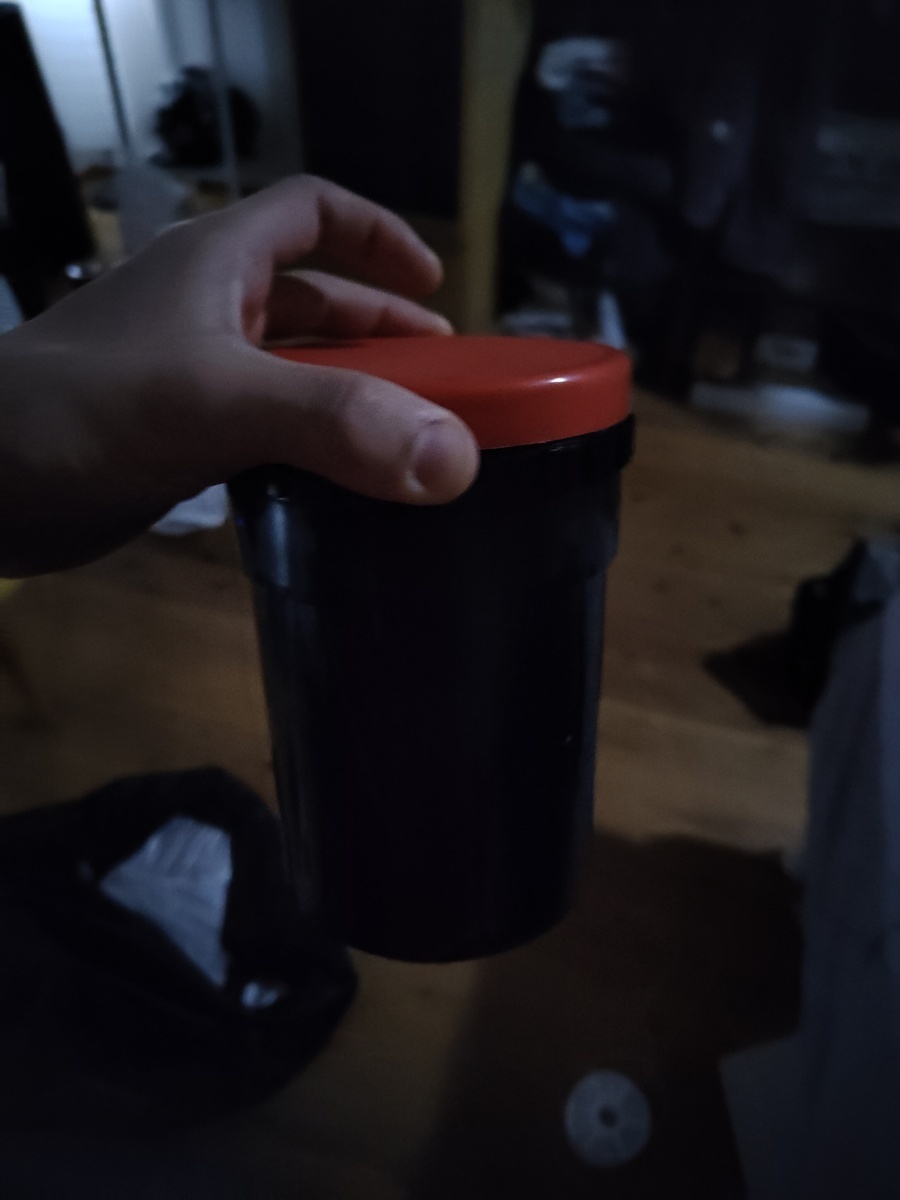
| Development Tank | Jian Cheng Compact Development Tank |
| Dark room | Dark Bag from some Chinese brand |
| Storage | 5 litre brown bottle |
| Misc | Some measuring cups for the kitchen |
The reasons for the chemicals were simply it was available. One mistake I realized after the purchase was that the shelf life for the developer is 2 month in a half full bottle. I got 5 litre bottle to store it so I need to use the developer a lot in that 2 month. I definitely will get a smaller bottle and go with a litre developer powders the next time. I blame the guy at the store because I asked him which one to get and told him that it’s my first time developing, yet he gave me this option.
For the tank, I see a lot of Youtubers are using patterson tanks, but they weren’t readily available in Japan. I came across this Chinese brand and the reviews were good, and it seemed to have the same out-to-in mechanism when loading the film, instead of the in-to-out of the old-school steel reels. As a first-timer, that was the biggest concern, putting film onto the reels in the dark. After I got the thing, I tried with the negatives already developed, and it was fairly easy to load them even in the bag. I highly recommend this if you cannot find a patterson tank.
What I’m developing
I’m doing a Lomography Lady Grey 400 which I went around several different stores across Tokyo but all of them said it’s gonna take 2 weeks.
Setting things up
Developer
I will have to make the powder into 3.8 litre water first.
I will put 375ml of the solution aside as is written at the bottom of the tank
Fixer
For the Rapid Fixer by Ilford, I will prepare in 1:4 ratio, so 75ml of the solution, and 300ml of water.
Wetting agent
Ilfotol has 1 : 200 dilution, and since the tank needs 375ml, I would need 1.87ml of the solution diluted up to 375ml. For this, I don’t have enough equipment to measure so I will do 2 grams of the solution. In the future, I want to get a pipet to measure 2ml precisely.
I’ve prepared solutions in measuring cups before starting the whole process
Developing
Loading up
This was the part I was most scared about, but it was easier than I thought. I put the tank, film, film opener and scissors into the dark bag, then I turned the light off (just in case) and loaded the film by just feeling it. One thing I’m glad that I did was that I practiced loading before with already developed film from before. Although it was cut into a smaller strip, it was still useful to practice the feel for the slot to put the beginning of the film in.
Make sure you have everything you need before opening the roll I turned the light off of the room just in case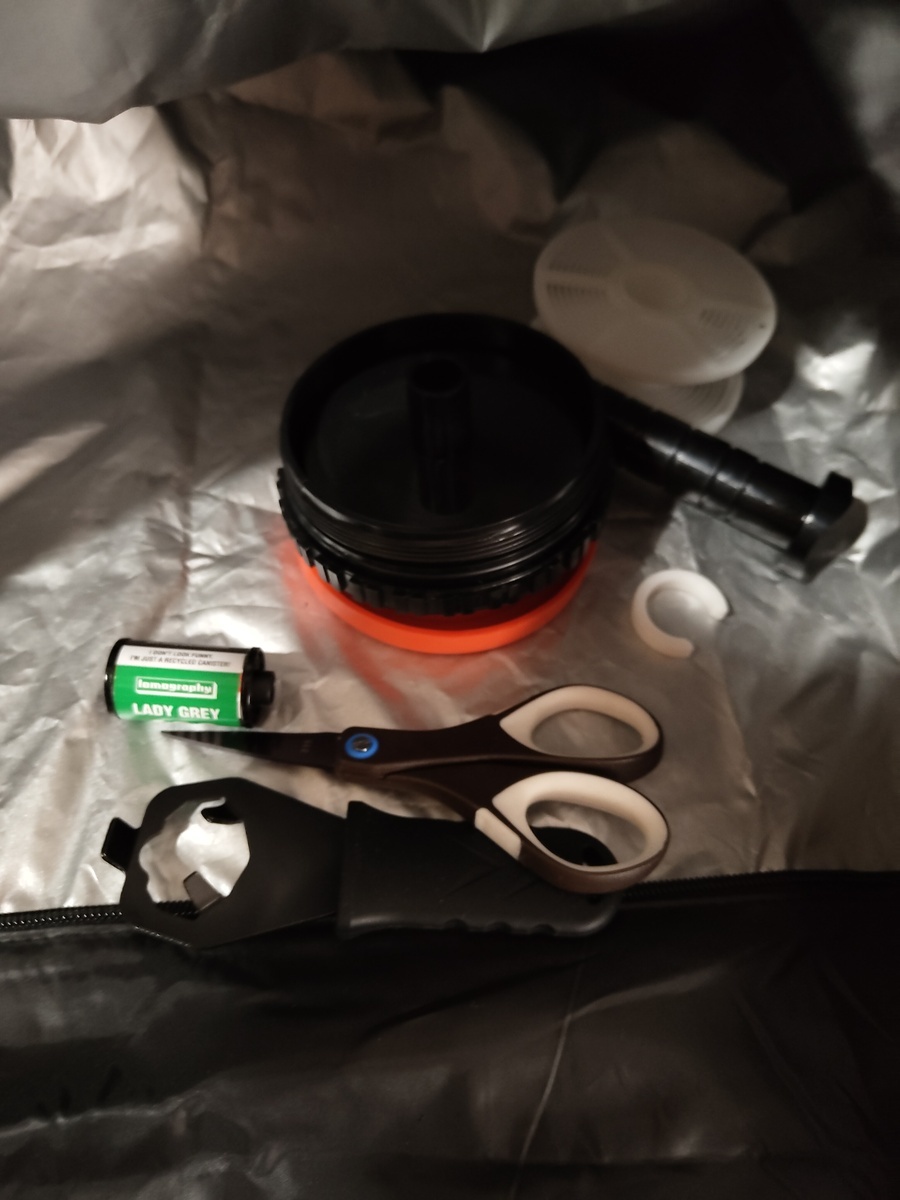
Pre-rinse
After sealing the tank, I rinsed the film with water because a Youtuber said to do so.
Develop
Development time for Lomography Lady Grey 400 with Kodak D-76 at 20 degrees celsius is 7.5 minutes.
- Pour the developer into the tank
- Give agitation for 10 seconds
- Every 30 seconds, give agitation for 5 seconds and smack down from 2.5cm height to get rid of the bubbles
- Pour out the developer
- Give a lot of water into the tank. This is in place for the stop bath
- Pour in the fixer
- Do the agitation and smack every minute for 2–5 minutes. I will do 4 just to be on the safe side not to degrade the film
- Pour them out into a beaker.
- Give another good rinse with water to get rid of the chemicals
- Pour in the wetting agent
- After about 30 seconds of swishing around, pull them out
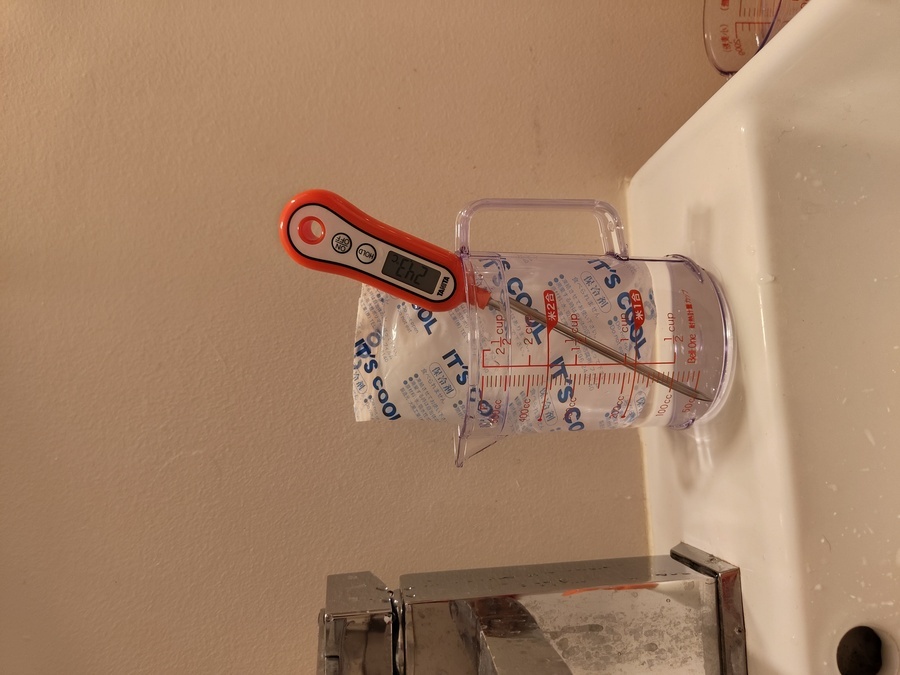
I adjusted the temperature using hot water and ice to be precisely 20 degrees
Drying
After the process is done, I hung the roll in a closet. I got the film hanging clips because they were cheap but I guess it is not a necessity. I didn’t ge the squeegee but I think it dried out fine.
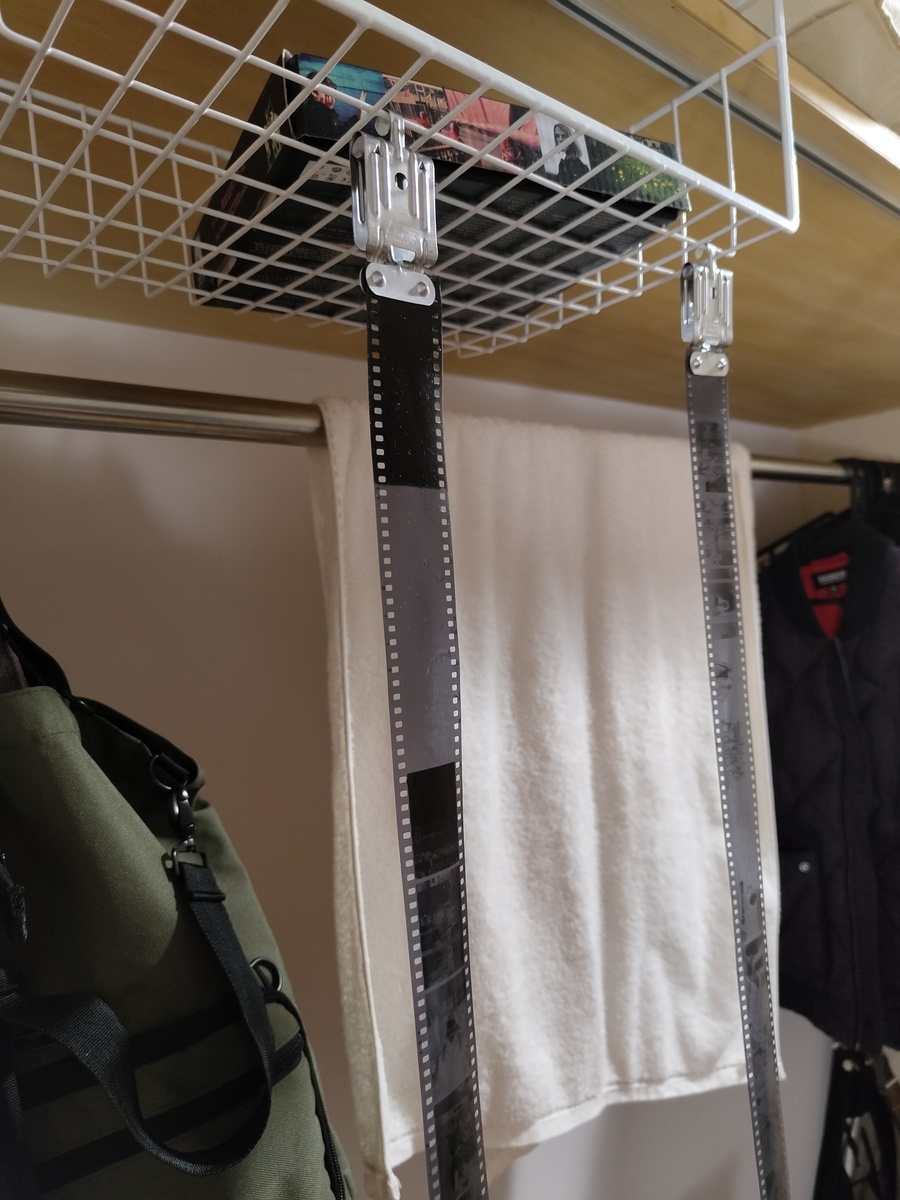
Cut the film into two pieces not to touch the floor
Scanning
After the film was dried, I scanned my film using my Olympus OME EM5 Mk-2 and Lomography’s scanning thingy. It is still a struggle to get a good quality for scan. I went stingy on macro option so I just have an attachment which makes my zoom lens into a “macro” lens.
Another difficulty is the build quality of the scanning board from Lomography. For the price they charge, the thing is bit too flimsy and also the AA battery doesn’t light the backlight enough. I use my mobile battery to directly power the back light.
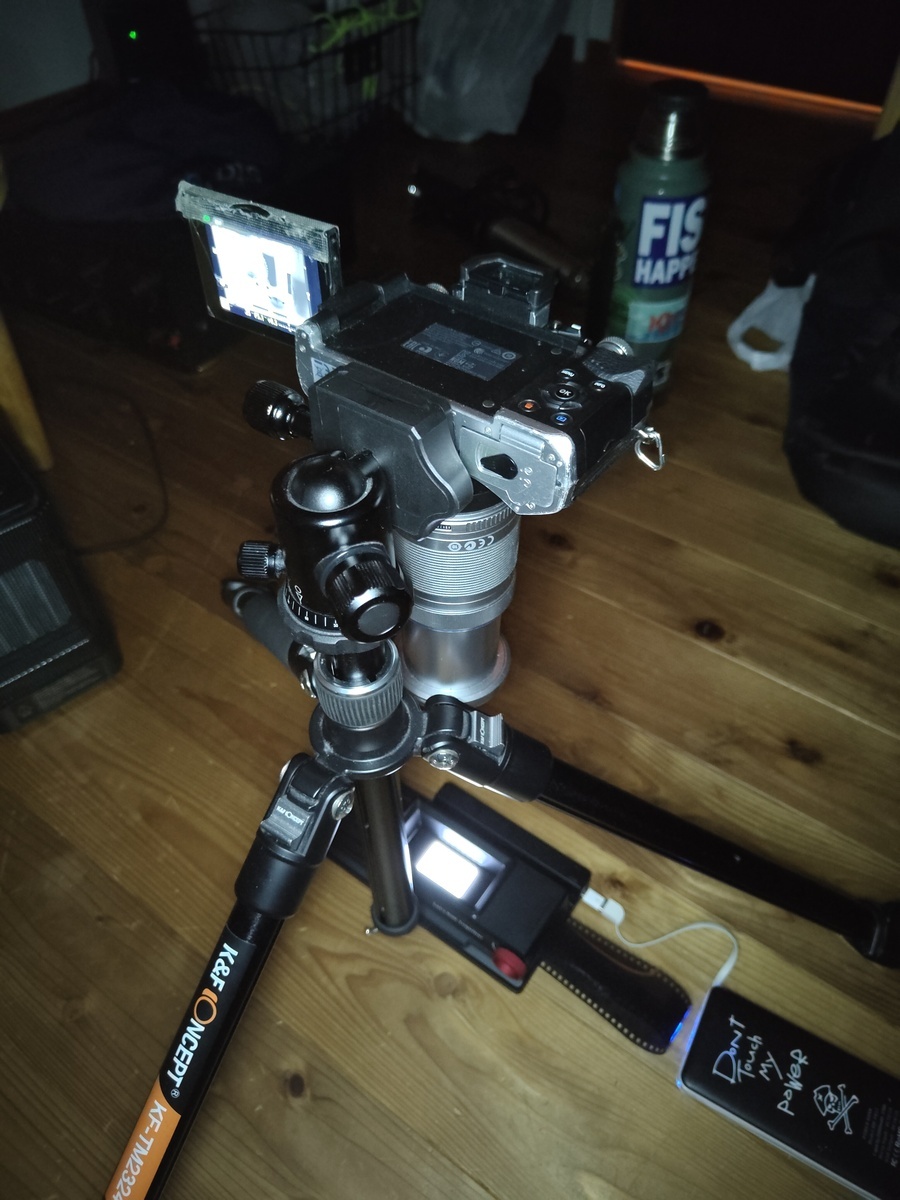
I later realized I can flip the tripod and get even closer
Results
After scanning, I don’t wanna pay for Adobe so I used Snapseed to turn the negatives into positives. Here, it is another struggle to get the edit right. I am always never satisfied with the result but I guess that’s another process to enjoy. Previously, it was hating on Kitamura’s edit but now I have only myself to blame 😝

Some dusts are visible 😂
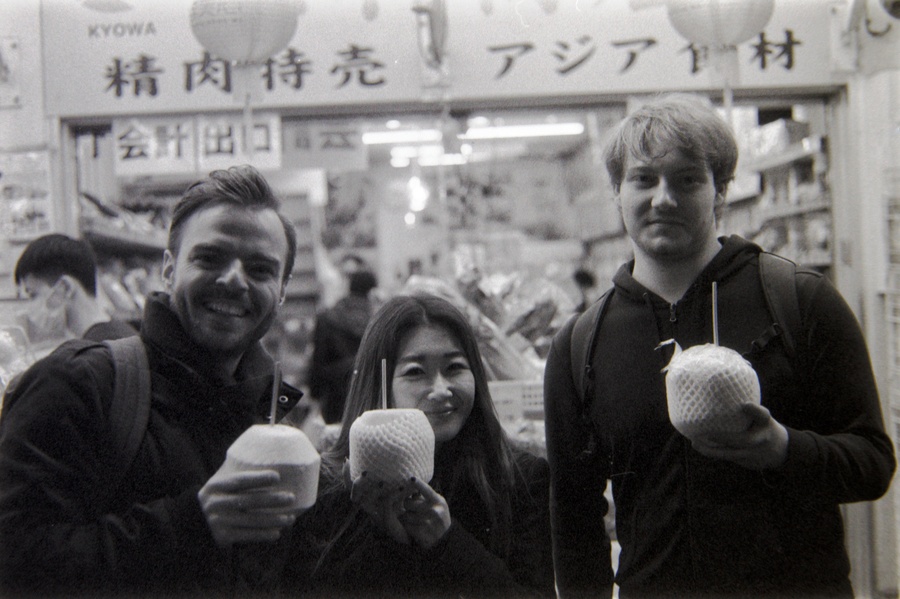
These low light situation is hard to edit
End
The whole process was easier than I thought. I don’t know what I was afraid of. Now I’m waiting for C41 chemicals to come as well. I know it will be slightly more effort since you need to keep the temperature high and need more chemicals but shall be fine.